# Pre-day 5 checkpoint
This step by step guide will help you deploy the complete app and DevOps pipelines in a state after completion of day 4.
# Setting up the environment 🔧
To Setup you environment you will need to:
- Clone the official training days repository
- Access you Azure DevOps environment to obtain a personal access token (PAT)
- Login to your Azure CLI
- Setup SSH-Keys to allow access to your DevOps projects git repositories
- Export some of the access credentials as environment variables in your shell
Let's get started.
# Clone the training days repository 🐑🐑
To clone the official training days repository into you workspace, open a Linux Shell (e.g. WSL2 or Azure Cloud Shell) and navigate to your workspace directory.
Then you can clone the repository using git like this:
git clone https://github.com/azuredevcollege/trainingdays.git
and change into the folder for the day5 restore checkpoint like this:
cd trainingdays/day5/apps/checkpoint/
# Collect access information for Azure DevOps 📃
We will be using terraform with both the Azure Resource Manager and the Azure DevOps providers. The later requires you to export your Azure DevOps organizations service URL and a personal access token with administrative permission in that organization.
First grab you Azure DevOps organization service url from you browser:
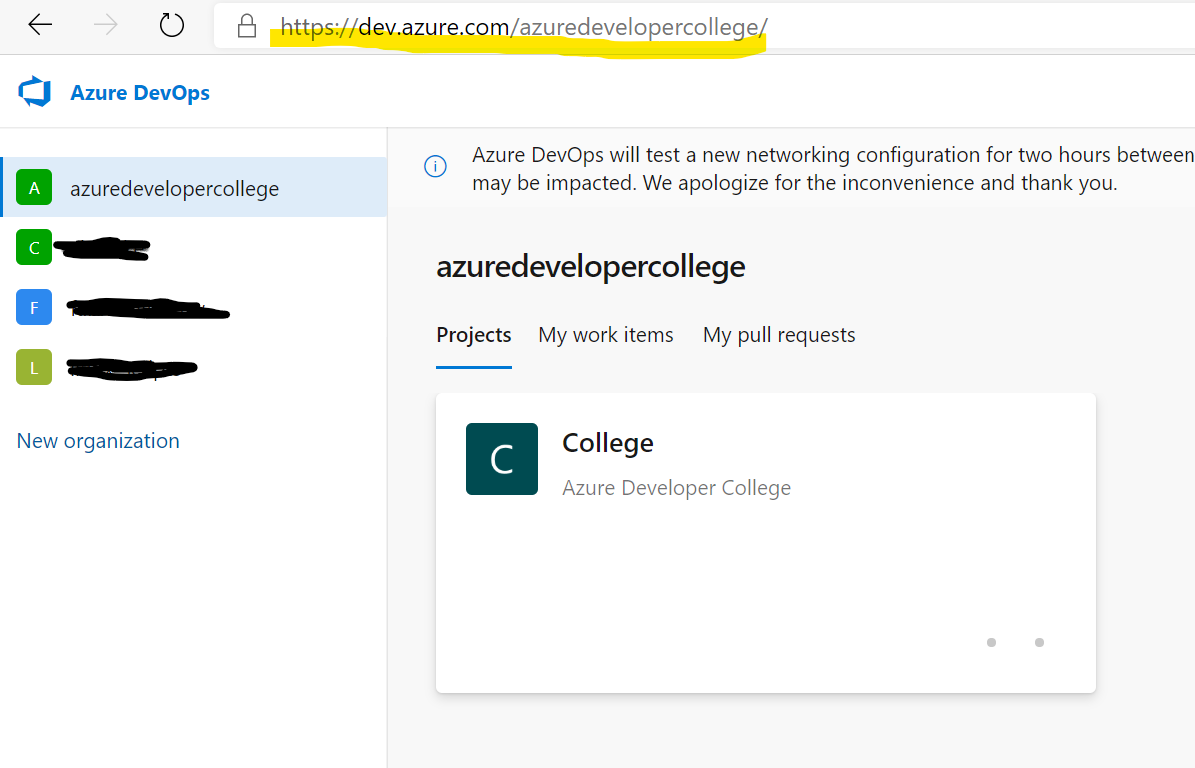
and export the url as environment variable:
export AZDO_ORG_SERVICE_URL=https://dev.azure.com/<your_organization>
Now, let's create a personal access token for your Azure DevOps organization. You can find the option in the top right corner of the Azure DevOps website.
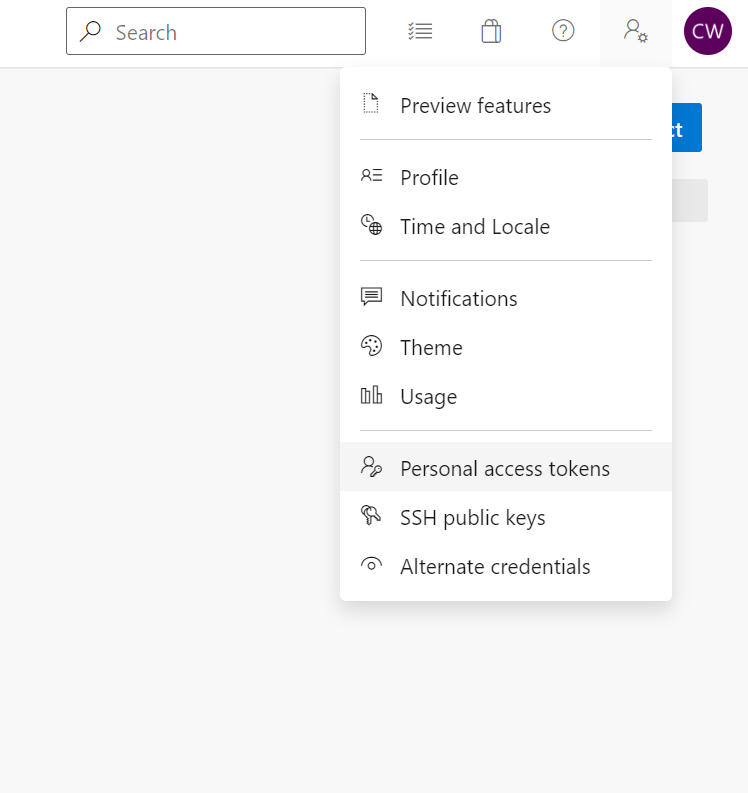
Create the new token with Admin permissions in you DevOps organization, as it needs to be able to create an entire new DevOps Project for you. Choose a name you can easily remember to delete after you've finished the course. You don't want to leave the access credentials lying around.
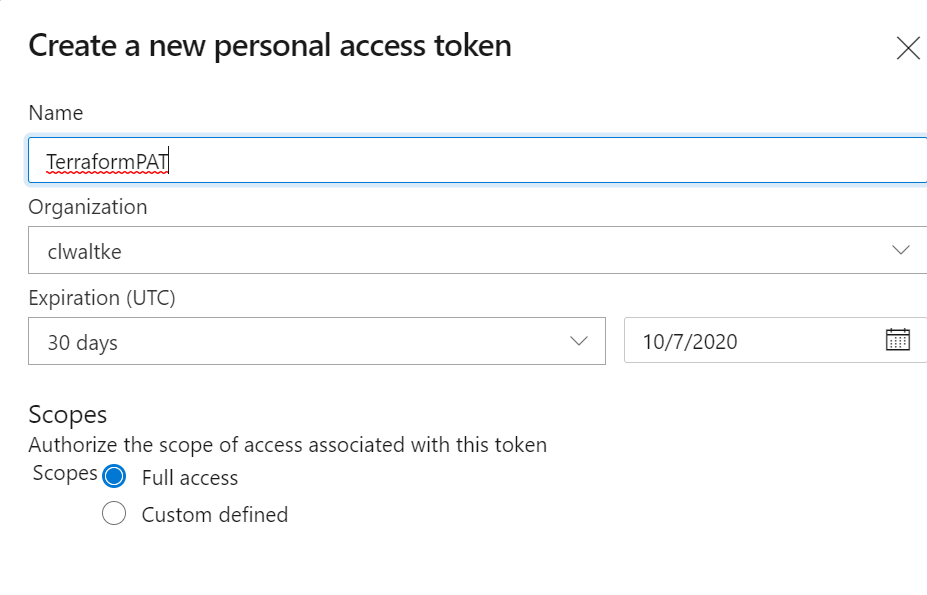
Hit create and take note of the access token after creating the token.
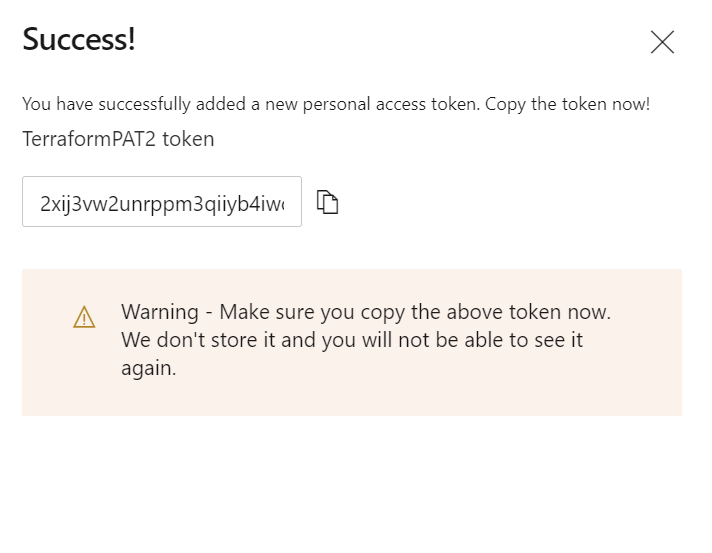
and export the personal access token as environment variable:
$ export AZDO_PERSONAL_ACCESS_TOKEN=XXXXXXXXXXXXXXXXXXXXXXXXXXXXXXXXXXXXXXXXXXXXXXXXXXXX
For terraform to be able to use the Azure Resource Manager APIs in your subscription you need to make sure you're logged into the subscription you want to work with.
$ az login
To check if the correct subscription is selected you can use the account show command.
$ az account show
Should you need to change the subscription, first list the available subscriptions in your account (in table view for better legibility):
$ az account list -o table
then set the desired subscription using it's unique id:
$ az account set --subscription xxxxxxxx-xxxx-xxxx-xxxx-xxxxxxxxxxx
# Make sure you have a ssh-key ready to use with git 🔑🔐
Let's check if you have an ssh key:
$ cat ~/.ssh/id_rsa.pub
cat: /home/waltken/.ssh/id_rsa.pub: No such file or directory
This would mean that you do not have an existing key around, so let's generate a new one.
We'll create a new 4096 bit key with the Comment devopsrestore at the default location for ssh keys. A file named id_rsa in you home-folders .ssh directory.
$ ssh-keygen -b 4096 -C devopsrestore -f ~/.ssh/id_rsa
To leave the password empty, just hit return twice
Now let's grab the corresponding public key:
$ cat ~/.ssh/id_rsa.pub
ssh-rsa AAAAB3NzaC1yc2EAAA...
...
... devopsrestore
You'll need to copy multiple lines from ssh-rsa until devopsrestore, the entire public key of of you ssh-key.
Now wee need to register the public key to your Azure DevOps user. This allows Azure DevOps to validate you identity without prompting for a password.
From the top right menu we used earlier, now select the SSH public keys menu item.
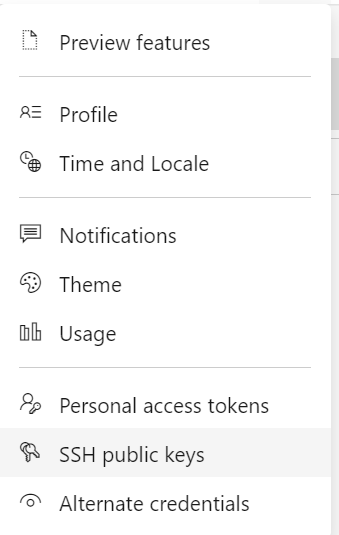
You should see a list with you already registered public keys. Don't worry if it's empty. We will now add you first key to the list, by hitting the Add button

Now paste you public key into the Key Data section and give it a name to your liking.

Should you have an existing key with a passphrase you will have to unlock the key for the
terraform applystep about to follow:$ eval $(ssh-agent -s) # start the ssh-agent $ ssh-add ~/.ssh/id_rsa # unlock your key for use in this session
# Use terraform to setup the DevOps project 🌏
Let's make sure you have terraform version v0.13.2 or higher.
$ terraform version
Terraform v0.13.2
Please update your terraform version, should this not be the case.
Now let's initialize terraform and download the required modules and providers:
$ terraform init
We are ready to apply the prepared infrastructure as code (IaC) to you Azure Subscription and Azure DevOps Account.
$ terraform apply
Make sure that the generated plan only shows new resources to create and then type yes to confirm the terraform action.
Make sure the process runs through without any errors.
Congratulations! You are done with the terminal (for now 😉.
# Run the pipelines 🏃♀️
The last part will be to run the pre-configured pipelines and find the url of the deployed website.
Let's go the the Azure DevOps Website. Your project pipelines should look like this:
![]()
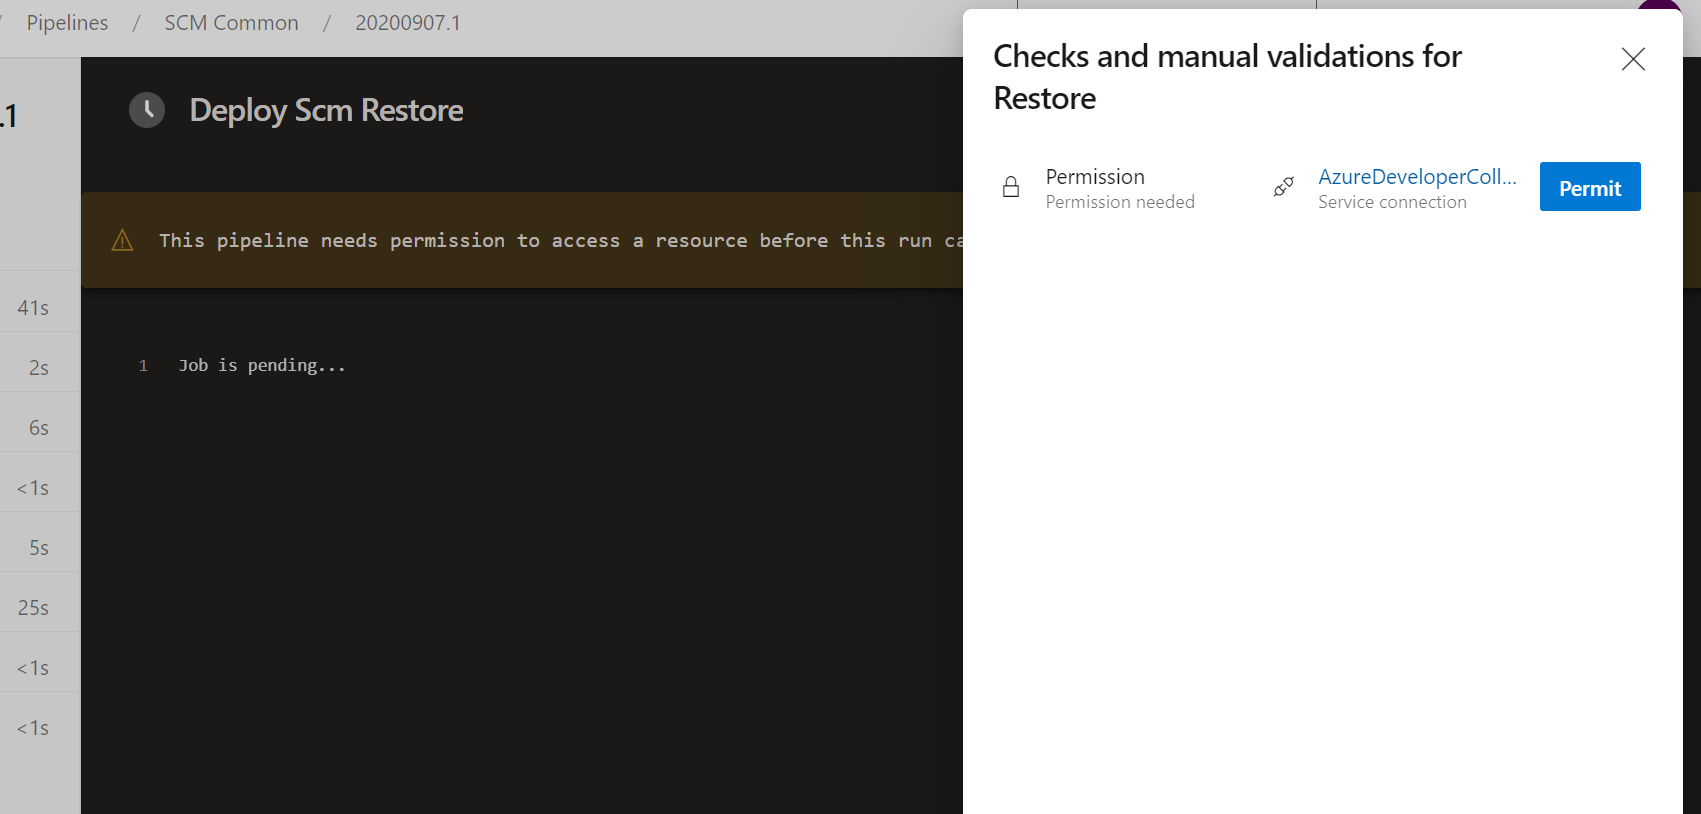
Before we run any pipeline let's authorize all pipelines to use the
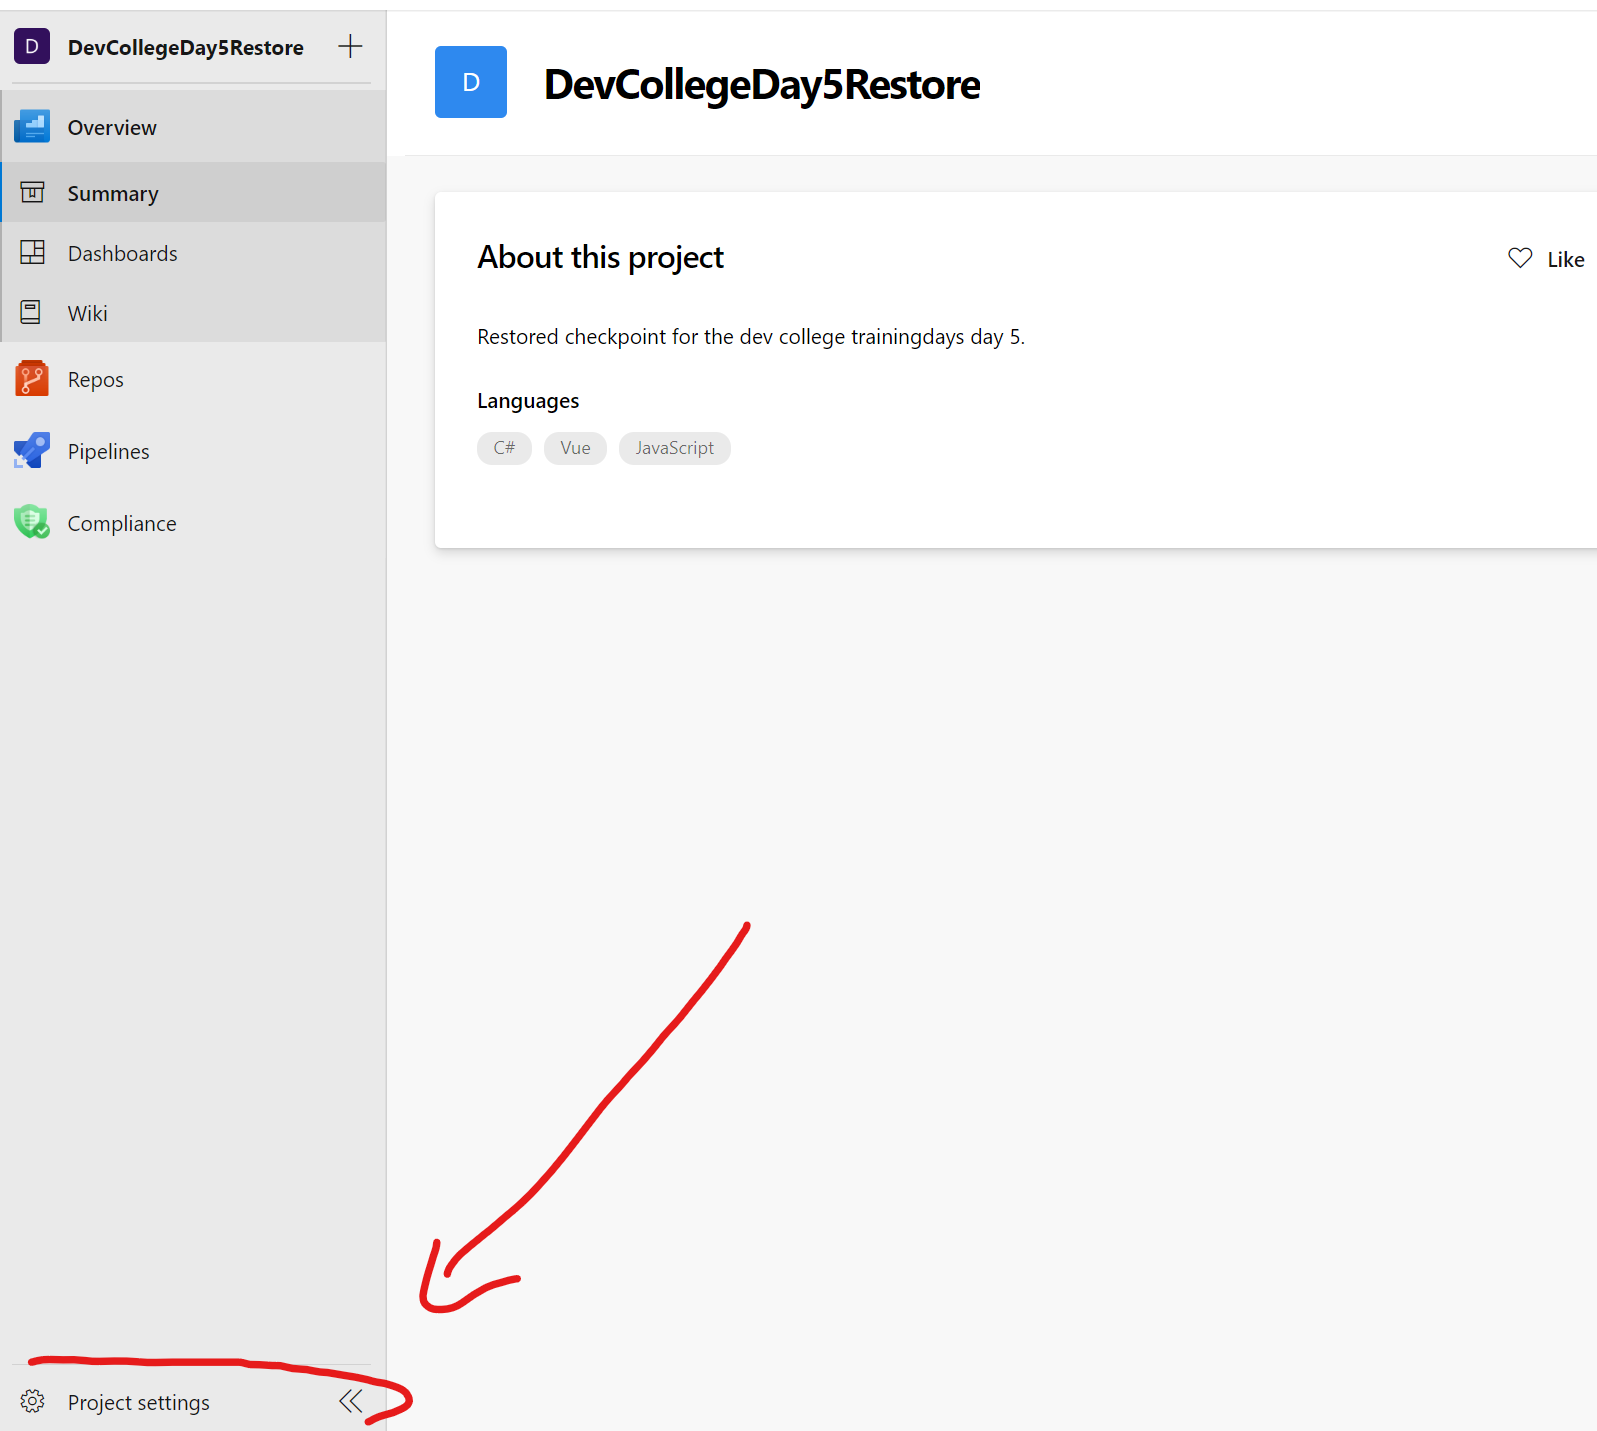
configured Service Connections. In the lower left corner select Project settings and navigate to Service Connections.
You should see to Service Connections configured for you project. Select the edit option for each of them and make sure the checkbox for Grant access permission to all pipelines is ticked.
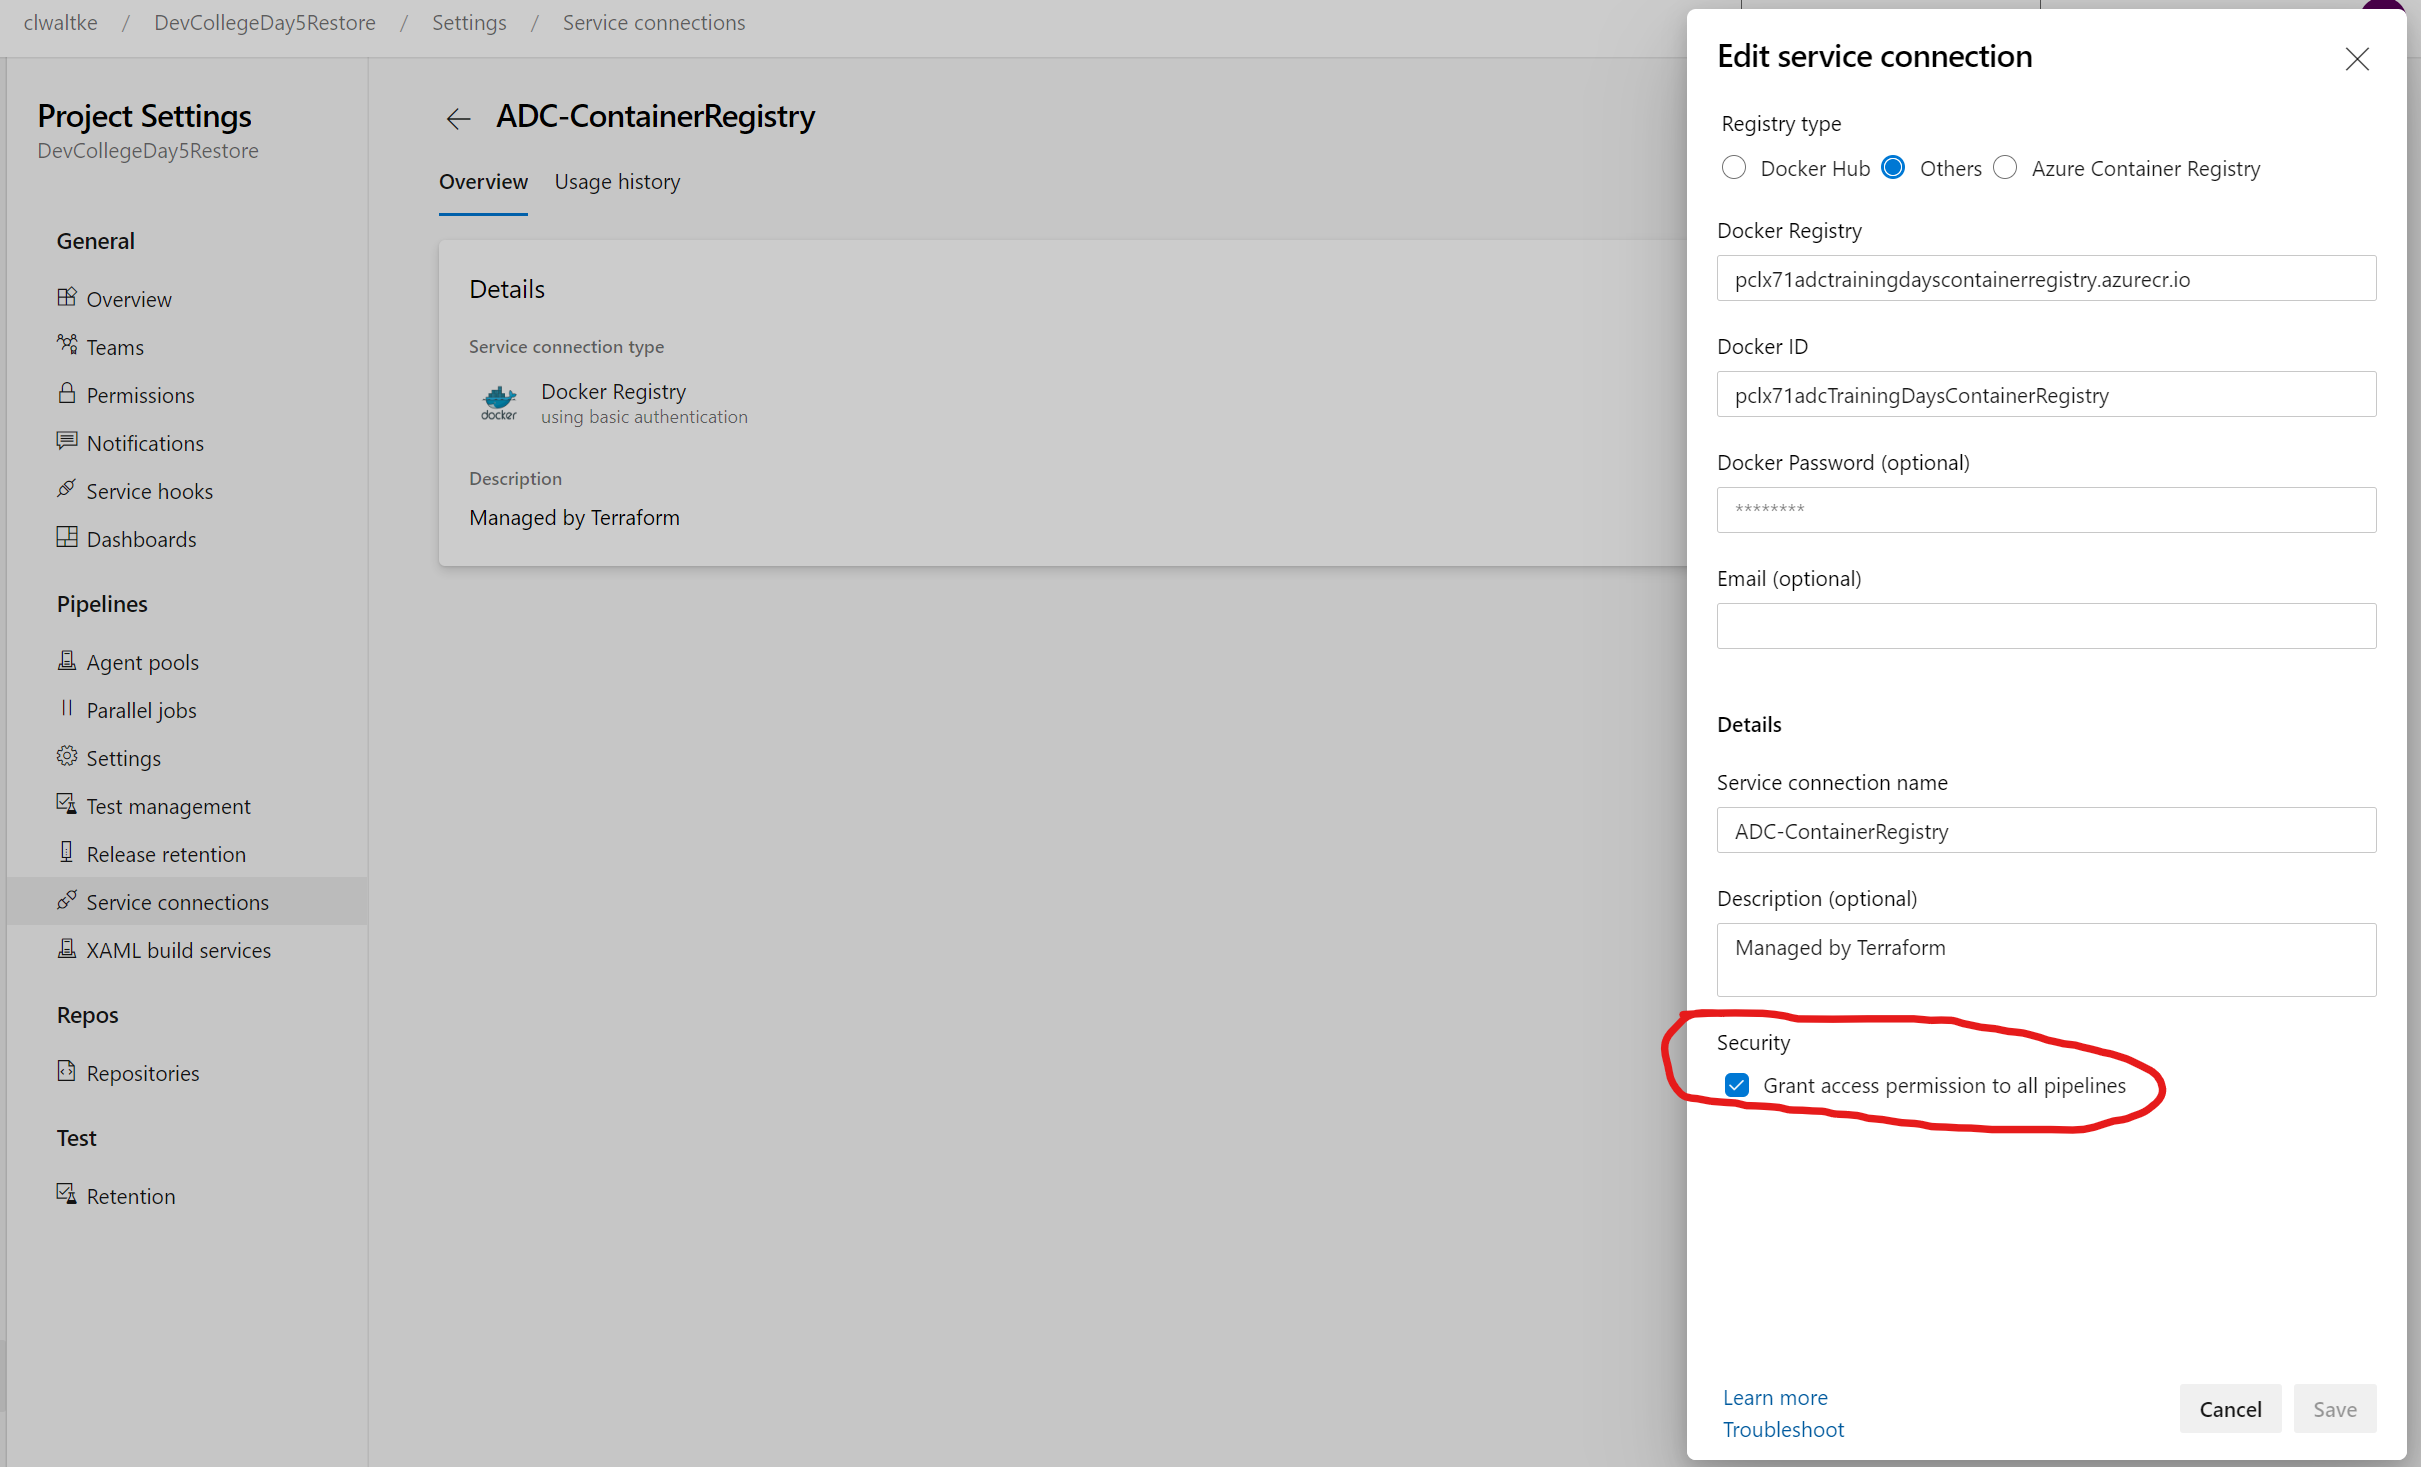
WARNING
This screenshot is wrong. You can only click on save for the Azure Service Connection, not the one for the Azure Container Registry. For the ACR you will have to manually approve access on the first run.
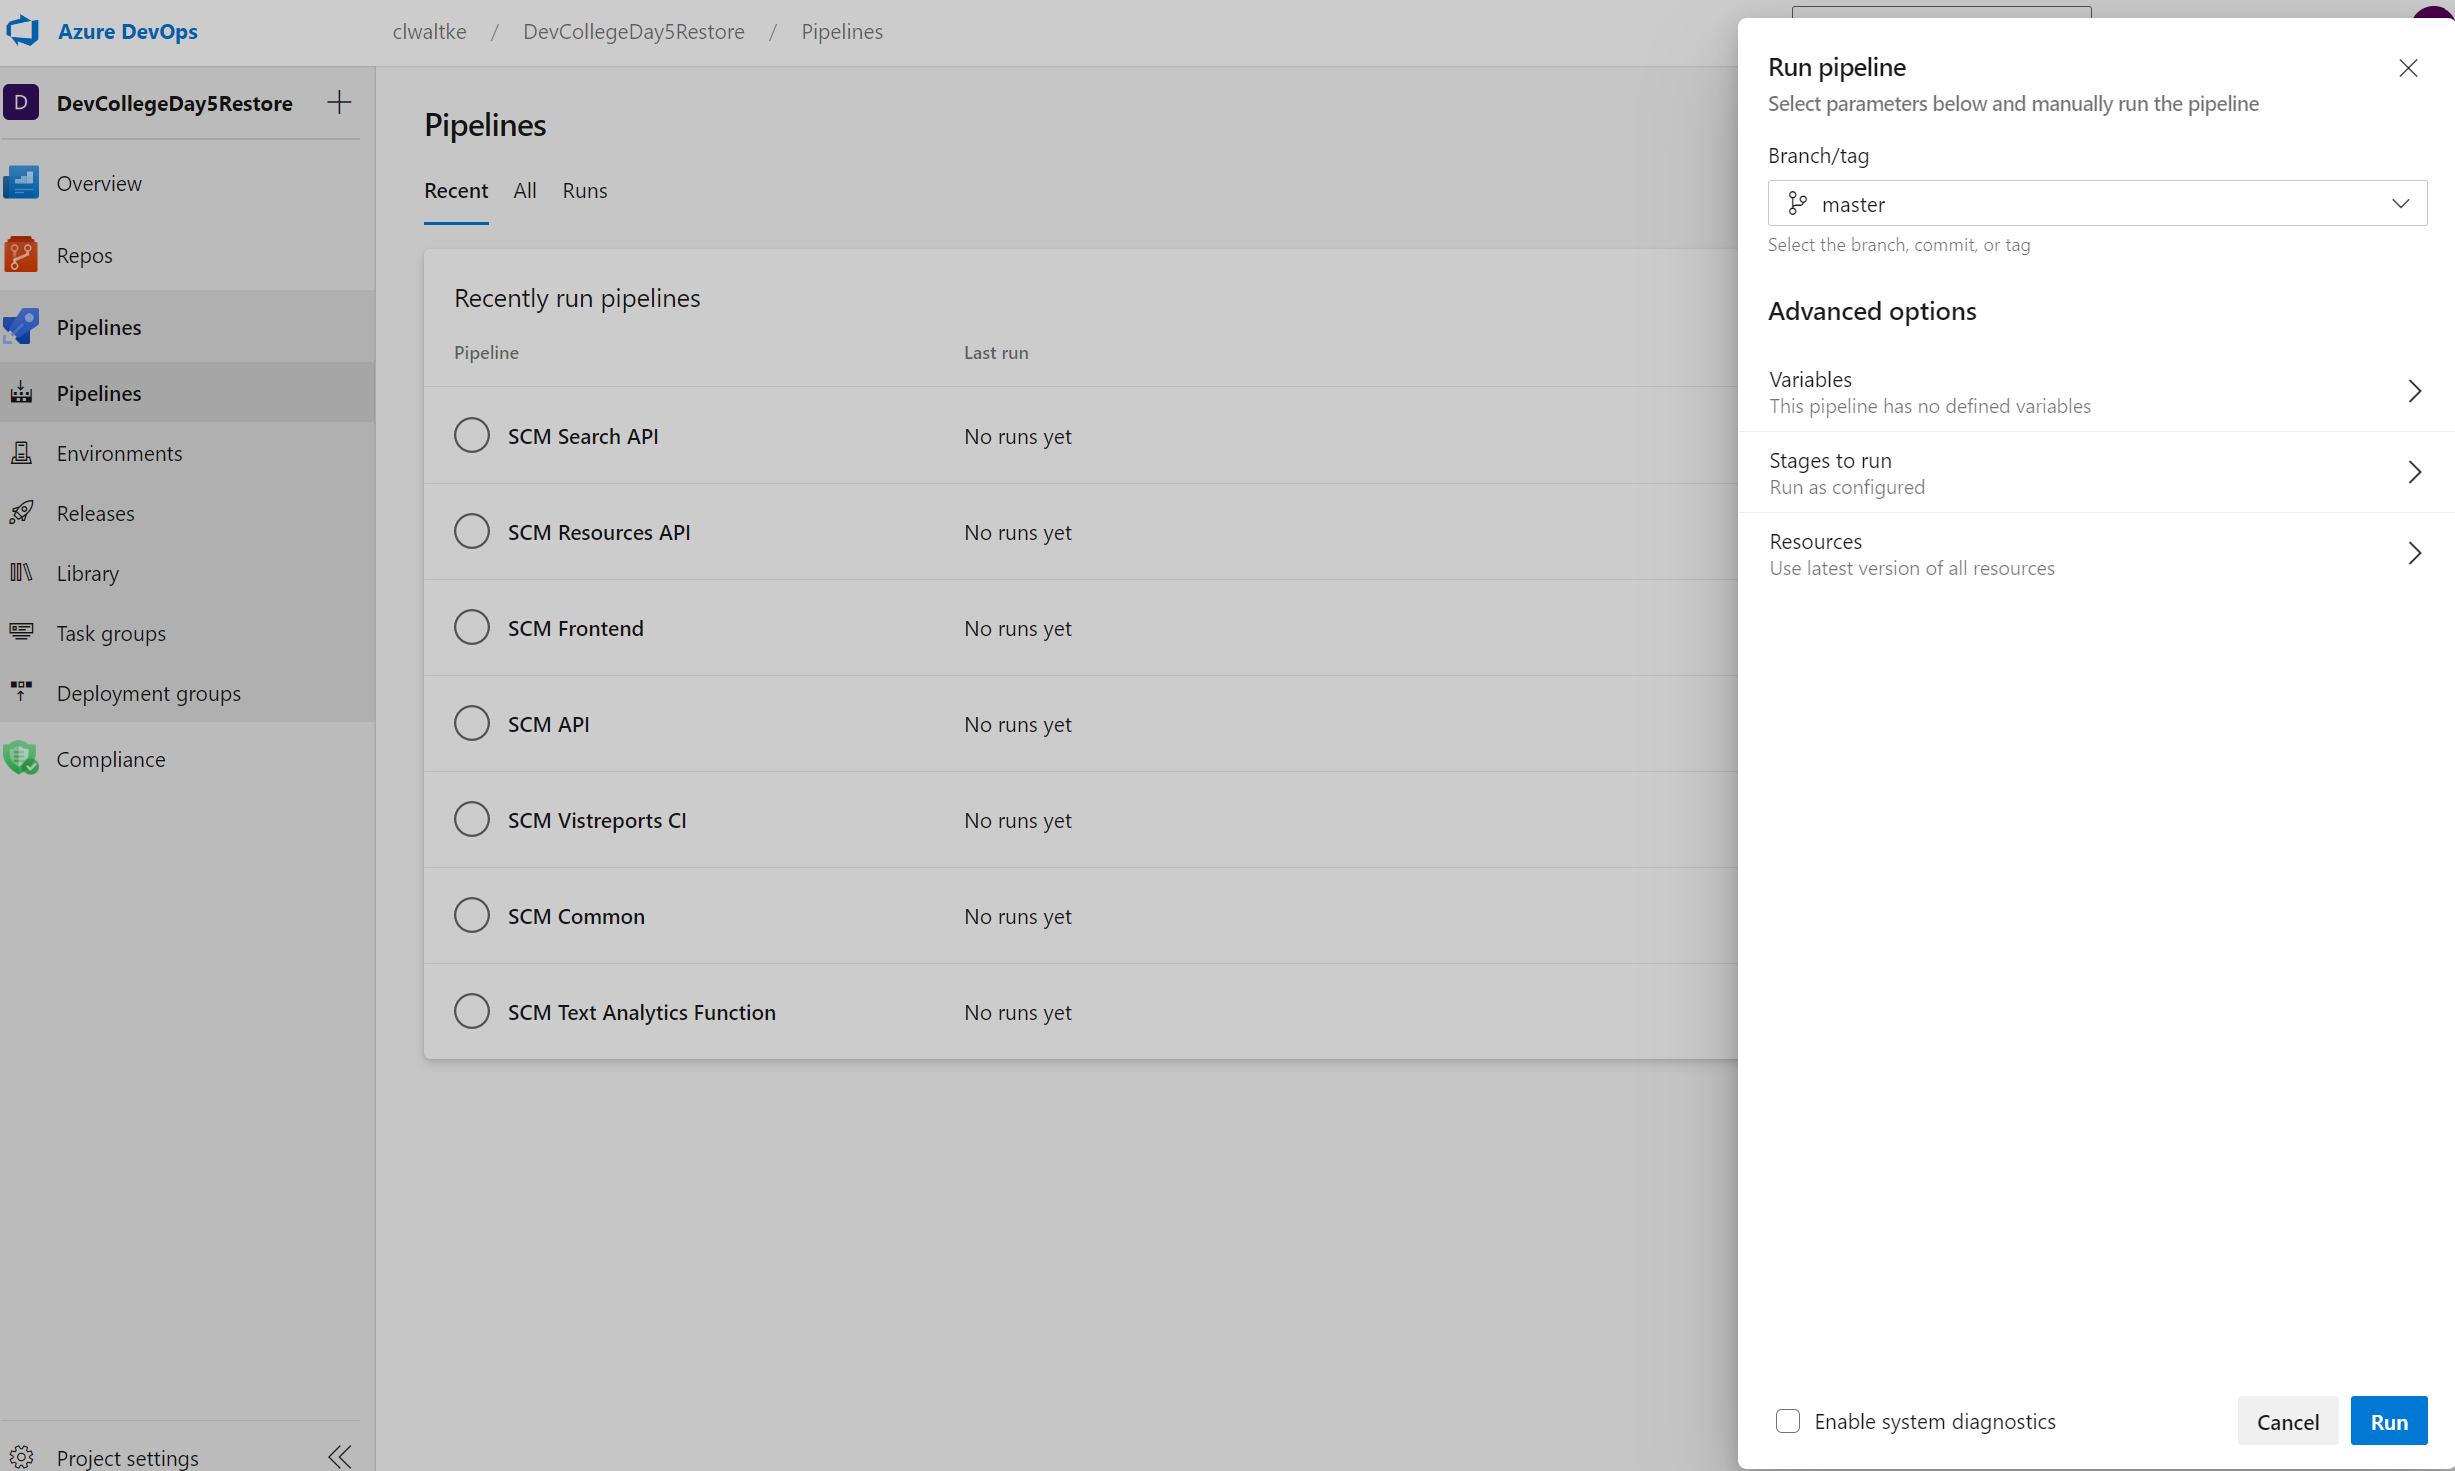
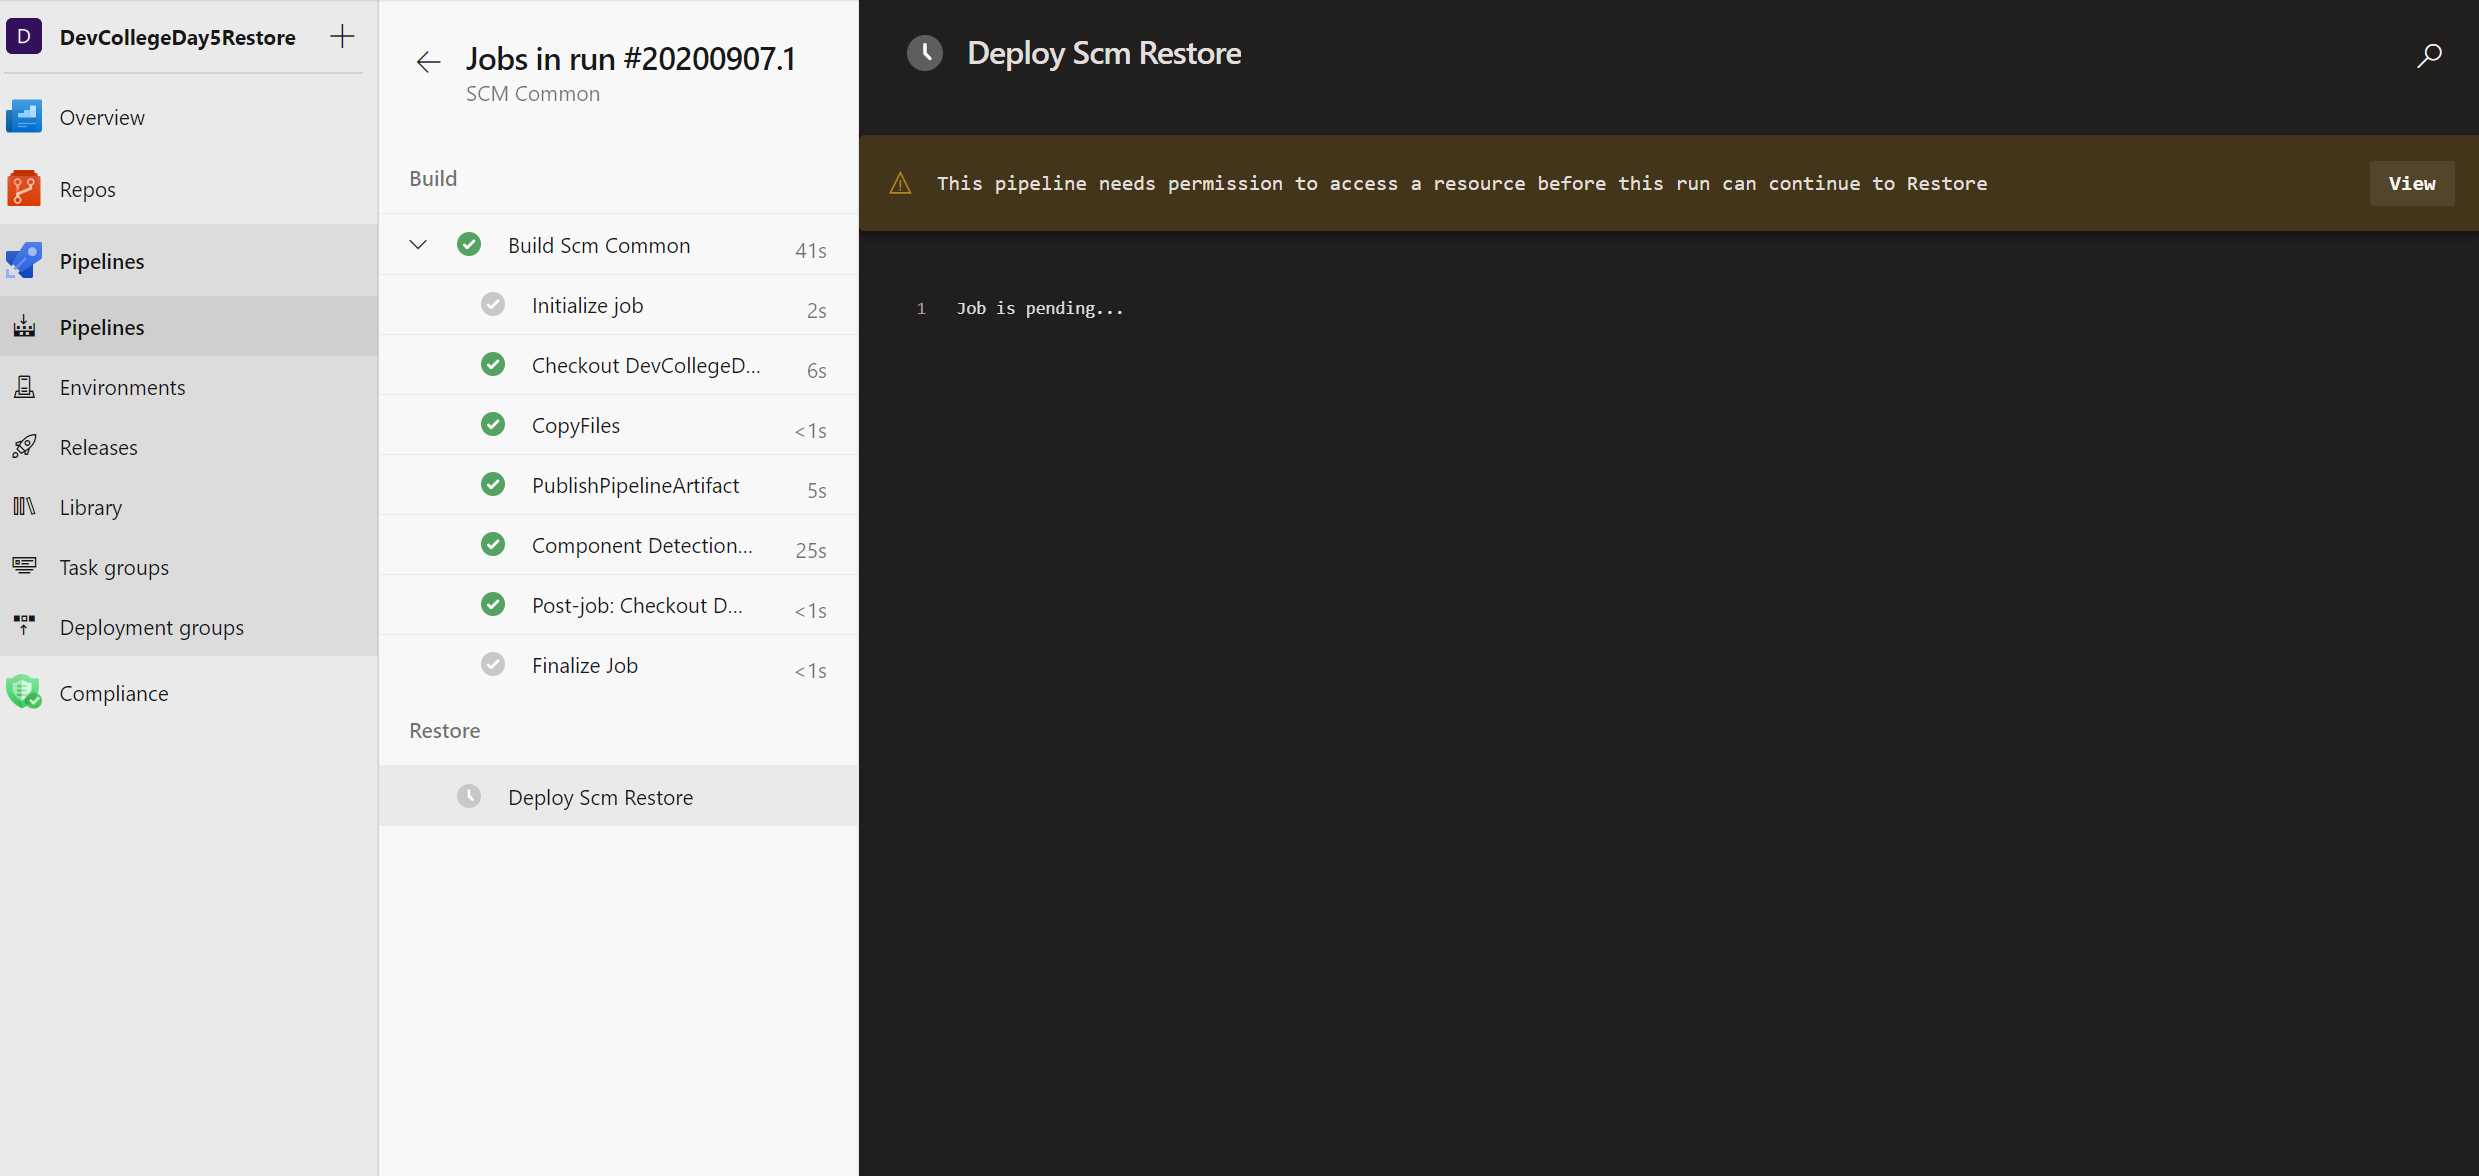
Start the SCM Common pipeline first and wait for it to complete. The common pipeline creates the Azure Resource Group and some share resources that the other project pipelines depend upon. This will take about 13 minutes to deploy. So let's take a short break, we are almost done.

If you notice that it stays pending you need to make sure your Service Connections grant access to all pipelines first.
After the SCM Common pipeline has successfully deployed you can run the rest
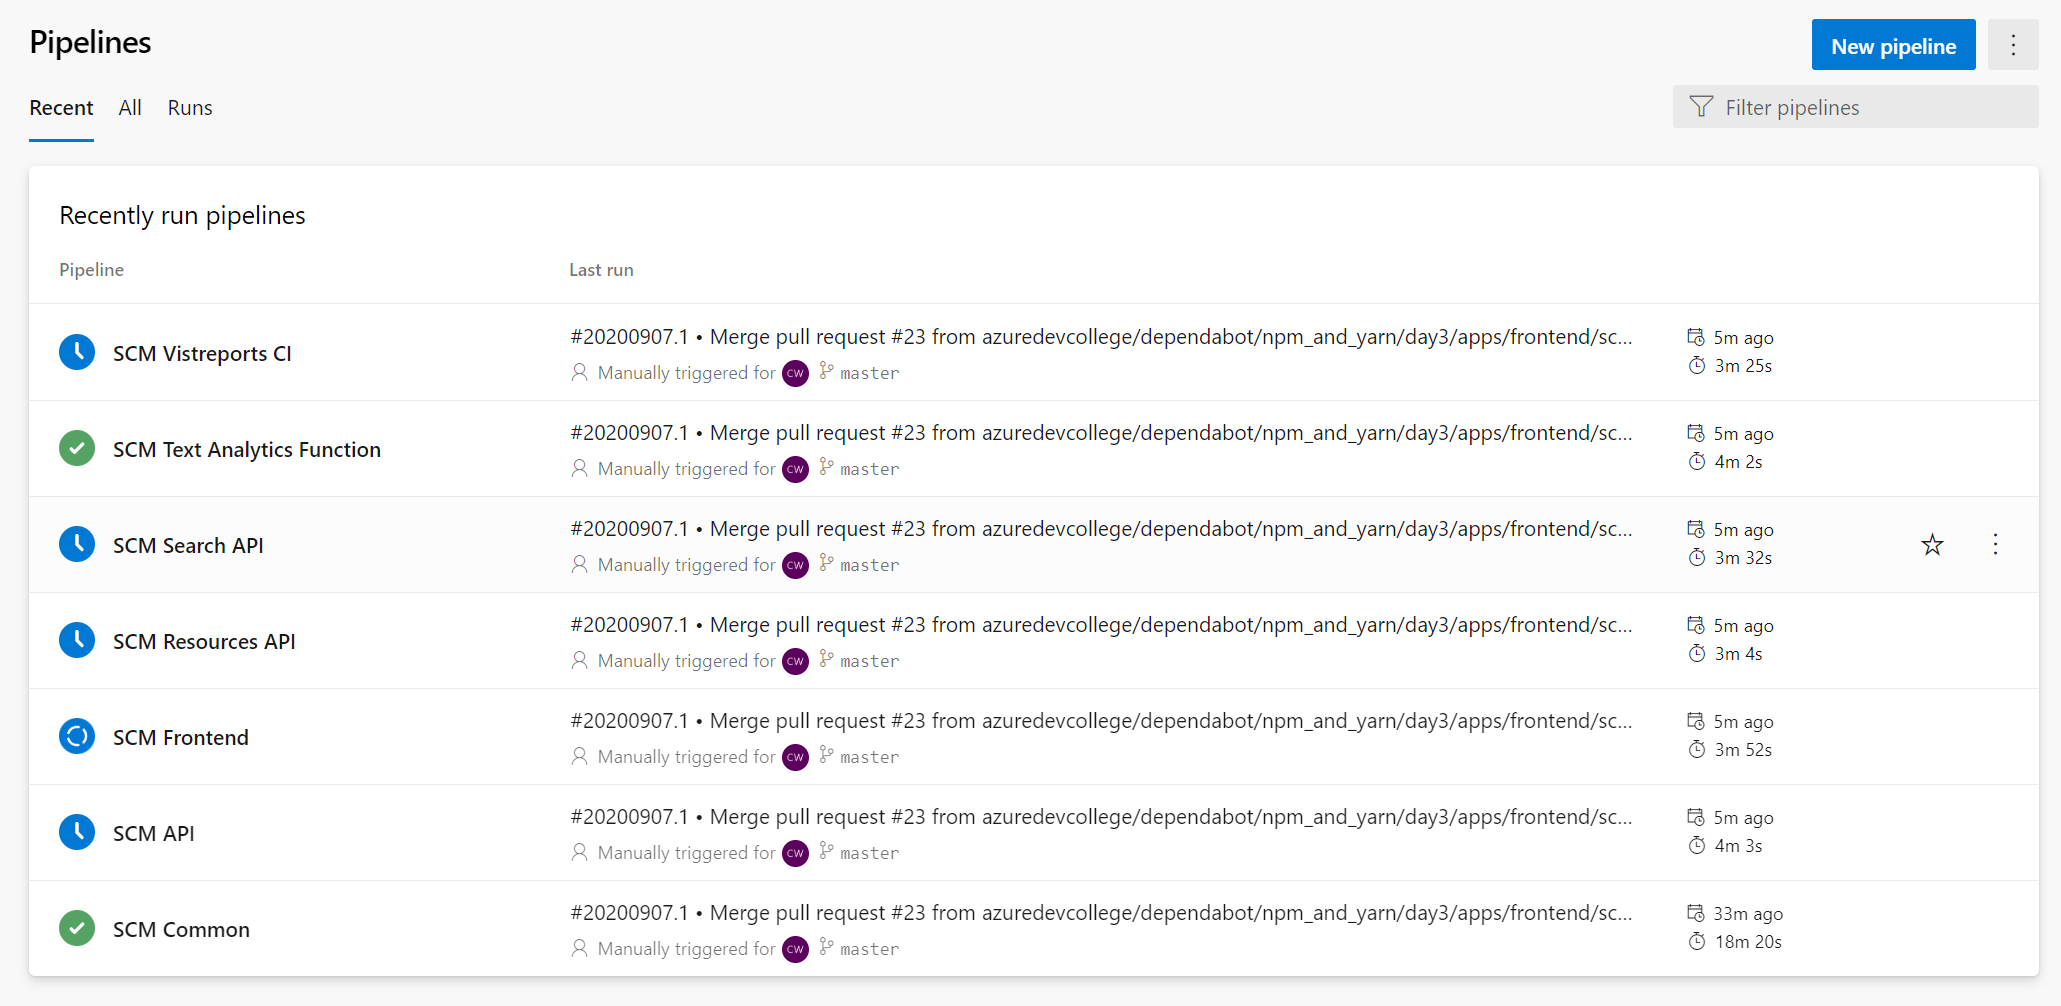
Once all pipelines have passed you should be able to use the webapp without any errors.
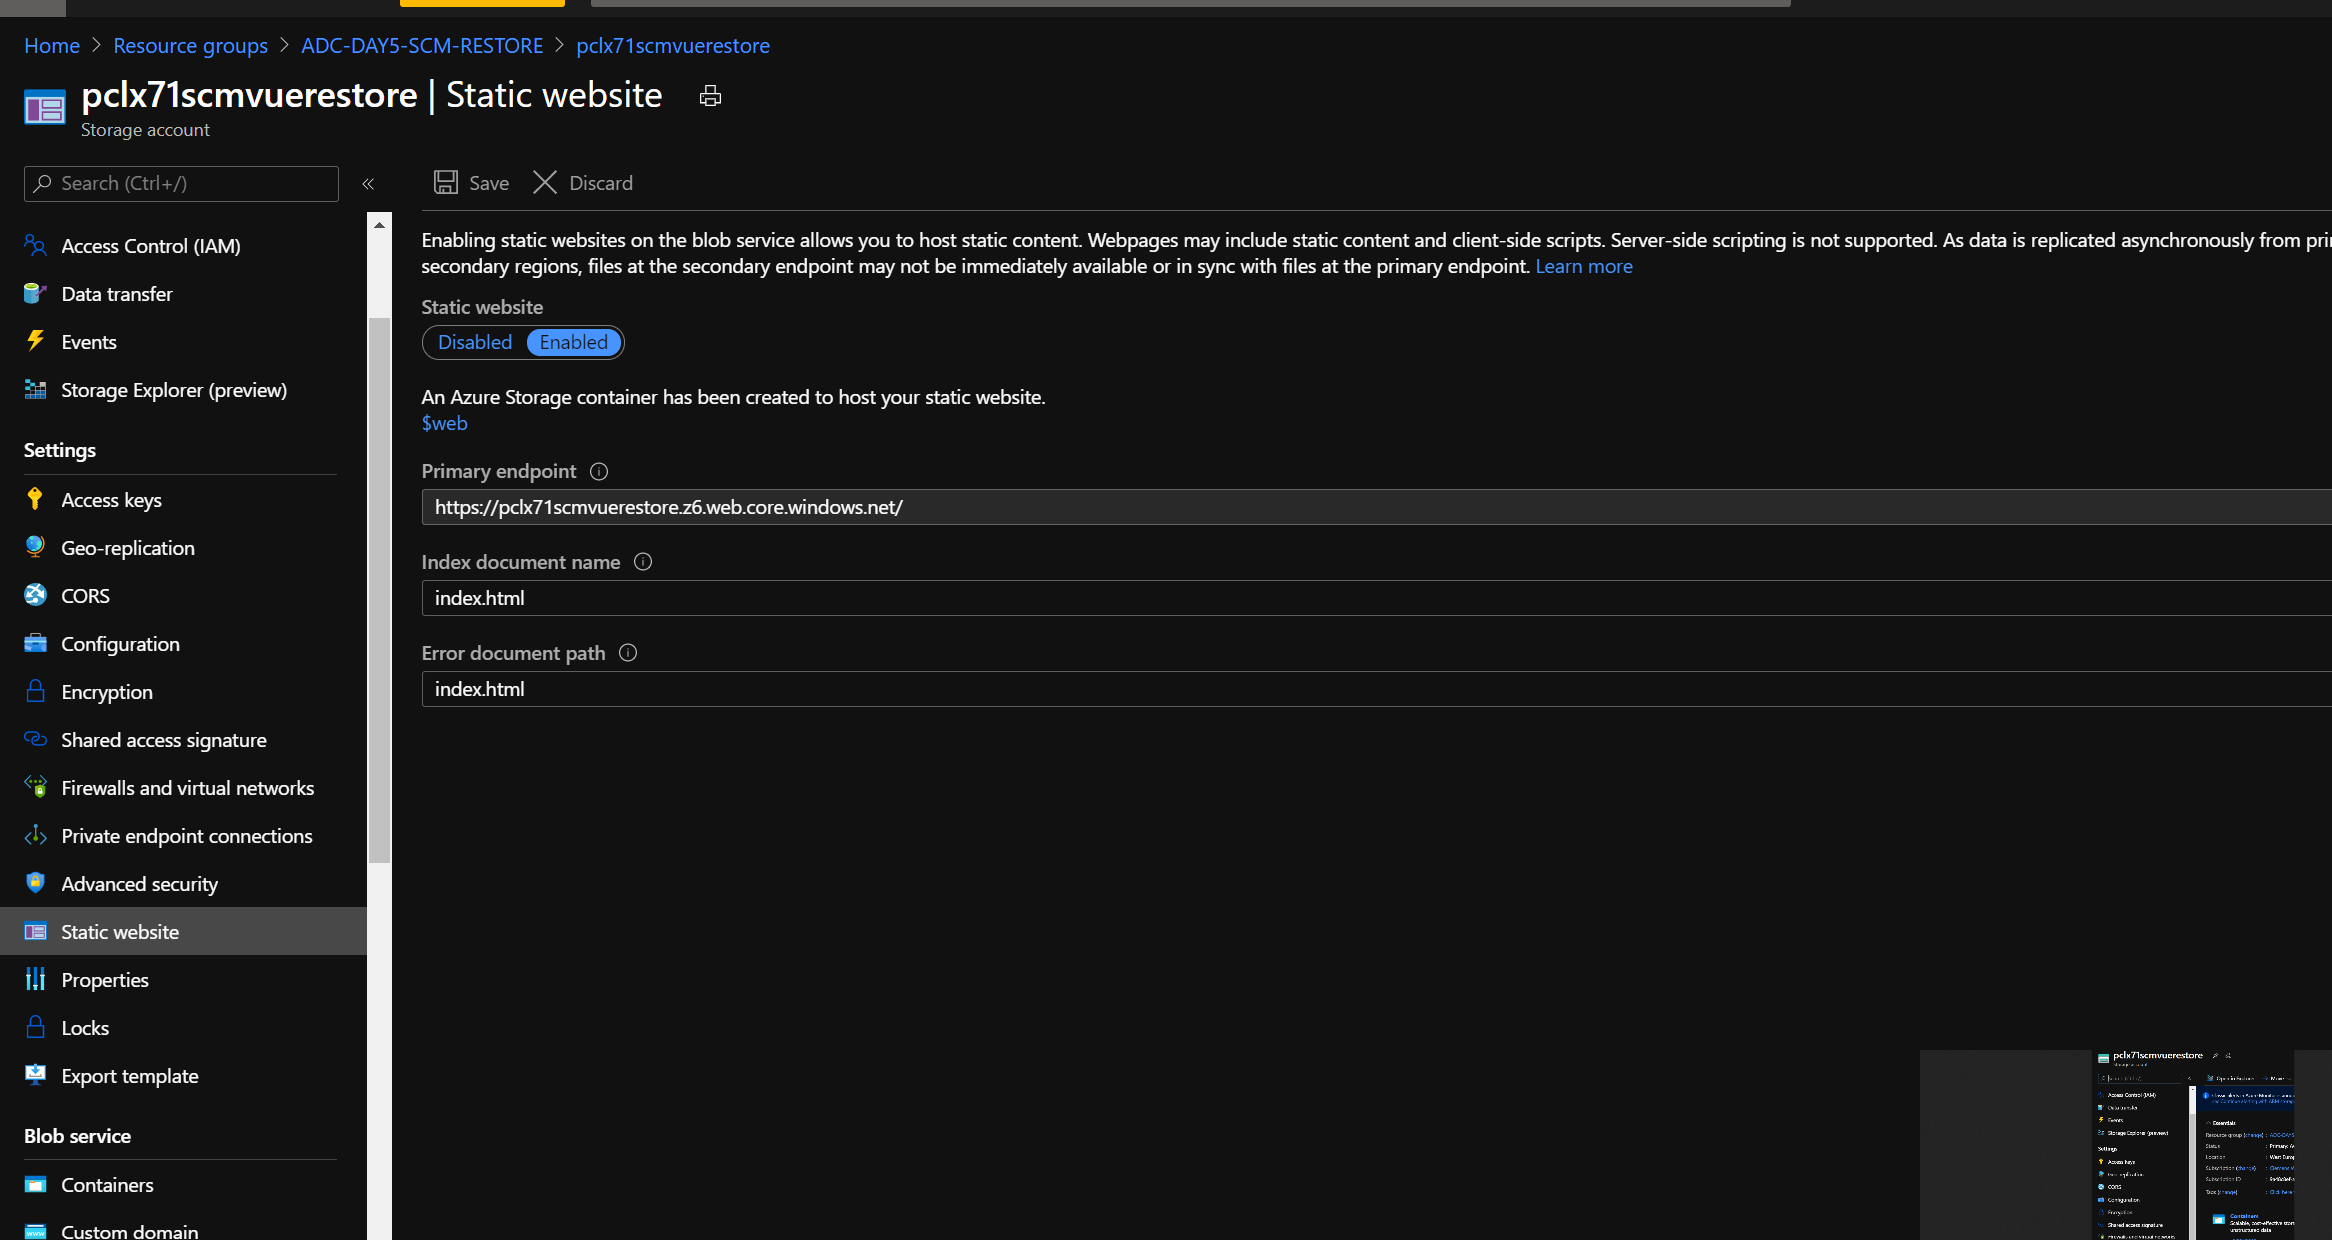
# Discover the website 🔍📃
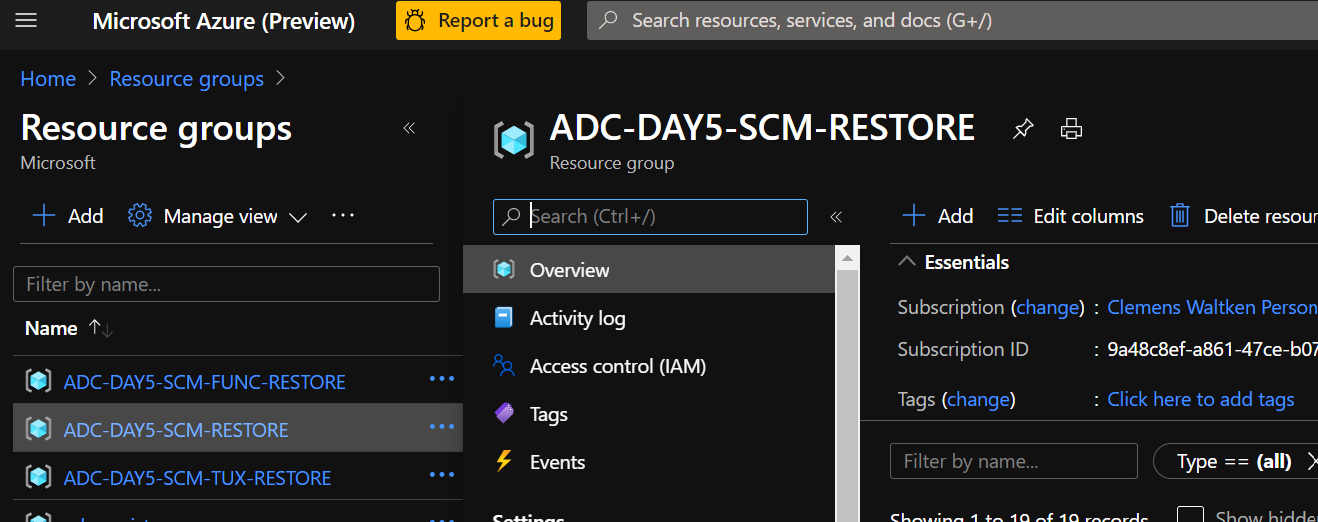
To find your deployed fronted website URL, you can navigate to the scmvuerestore Storage Account in your newly created resource group. You will find the Primary endpoint listed under static website in the details of the storage account.
Hooray! 🥳🎈🎉 You've successfully restore to the pre-day5 checkpoint and are ready to go ahead an learn everything about Active Directory integration!