# Challenge 2: Work with Azure Repos

# Here is what you will learn 🎯
- Create a Git repository for your code
- Use an SSH key for authentication
- Clone the Git repository to your local developer machine
- Work with branches and Pull Requests
# Table of Contents
- Import the Azure Developer College GitHub repository to your Azure Repo
- Clone the repository to your local machine, use SSH key authentication
- Working with Branches and Pull Requests
# Import the Azure Developer College GitHub repository to your Azure Repo
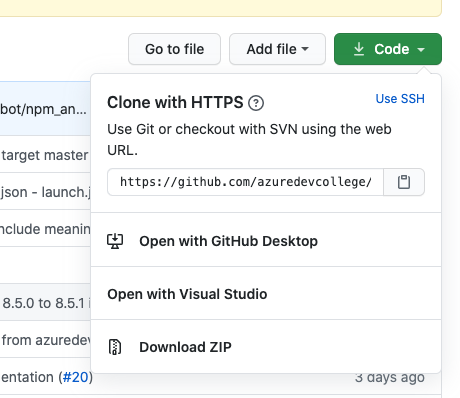
Open your browser and navigate to the Azure Developer College Training Days on GitHub (opens new window). Click the green "Code" button and copy the
https url.
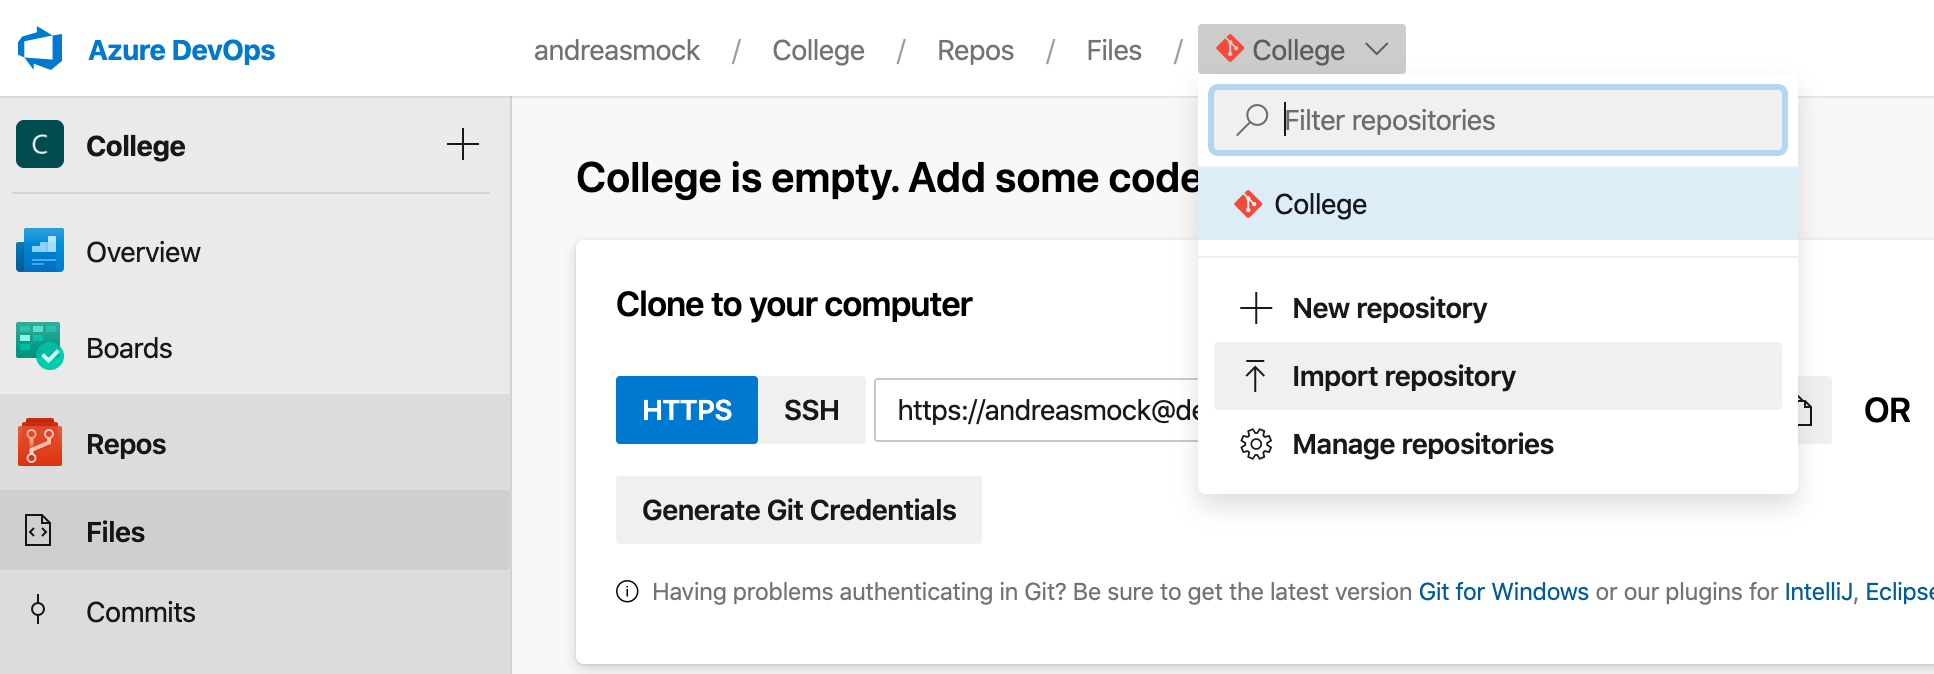
Go to your Azure DevOps project import the repository and name it azuredevcollege:
# Clone the repository to your local machine, use SSH key authentication
SSH public key authentication works with an asymmetric pair of generated encryption keys. The public key is shared with Azure DevOps and used to verify the initial ssh connection. The private key is kept safe and secure on your system.
If you haven't already created an SSH key on your system, please follow these steps here (opens new window).
After you have created the SSH key for your system, add the public key to Azure DevOps services. Follow these steps described here (opens new window).
Now that you have added your SSH public key to Azure DevOps, you are ready to clone the Azure Developer College's repository to your local machine.
Open a shell and go to your project's folder and clone the repository as described here (opens new window) to your local machine. Go to Azure Boards and set the story "S1" to completed.
🥳 Congratulations - You have completed your first User Story. 🥳
# Working with Branches and Pull Requests
Now it's time to start to work on User Story "S2". Go to Azure Boards and move the state of the User Story to "Active". We want to setup the master branch's policies to require a Pull Request to merge changes from a feature branch into the master branch. Additionally, we would like to have each Pull Request associated with a Work Item (User Story in our case).
# Setup Master Branch's Policies to require a Pull Request and Work Items
To protect your branch you need to configure branch policies. Here (opens new window) you can find a description of how to setup policies for your master branch to require a Pull Request and a link to a Work Item.
# Create a Feature Branch to complete User Story S2
There are several ways to create a feature branch. You can either use the command line and the git command or you can use VS Code. Here (opens new window) you can find a description to get more details about it.
# Command line
Open a shell and navigate to the root directory of your ADC's repository and use the command as follows to create a feature branch:
git branch features/changetitle
Checkout the new branch:
git checkout features/changetitle
Open VS Code and have a look at the left bottom corner:
code .
You see the information on which branch you are working on in the status bar of VS Codes.
# Change the title of the sample application
Open the file day4/apps/frontend/scmfe/src/components/home/Home.vue, change the title and save the file.
# Commit the changes to your local branch
Now you can commit the changes you made to your local branch. You can either commit the changes by using the command line or VS Code. In VS Code:
- Click the Source Control icon (there is already a blue bubble which informs you that you have made changes to the repository)
- Enter a comment and commit your changes.
If you want to use the command line do the following:
git add .
git commit -m "Comment"
# Push your local branch to the remote repository
Now your changes are only available in your local branch. To make the changes available for all your team members you have to push your changes to the remote repository. You can either use VS Code or the command line to push your changes. In VS Code:
- Go to Source Control
- Click the button with the three
"..."dots - A context menu is displayed and you have to click Push to upload your changes to the remote repository.
If you want to use the command line, do the following:
git push
Navigate to your Azure Repo and have a look at the branches. Your branch is now available and can be cloned by your team members.
# Create a Pull Request to apply your changes to the master branch
To create a Pull Request follow the instructions here (opens new window). Select the branch "features/changetitle" to be merged into the master and link the User Story S2 to the Pull Request.
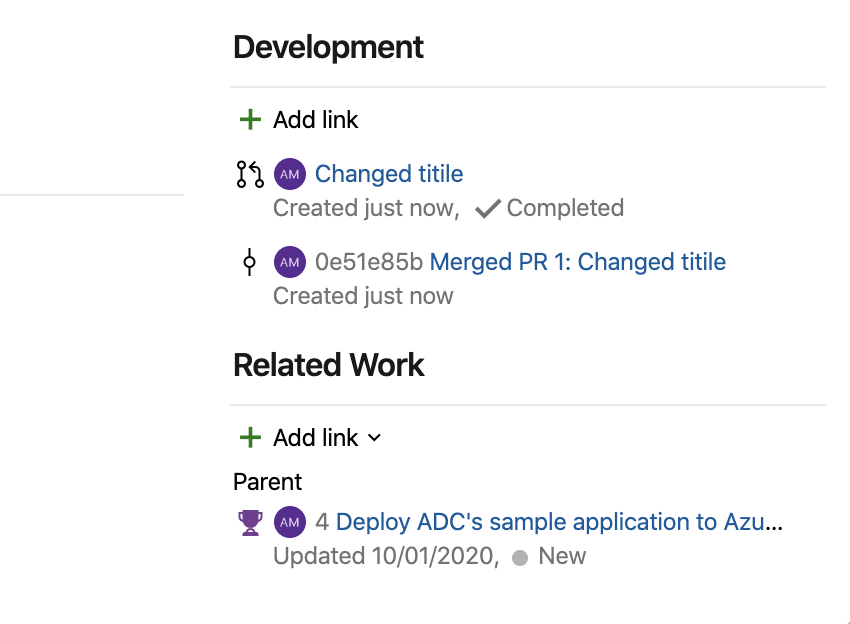
After you have completed the Pull Request you have completed the User Story "S2". Go to Azure Boards and set the story to the state completed. Maybe it is already set to completed depending on the choice you made during the completion of the Pull Request. Have a look at the story. You will see that the User Story was linked to the code changes and to the Pull Request:
🥳 Congratulations - You have completed User Story S2! 🥳